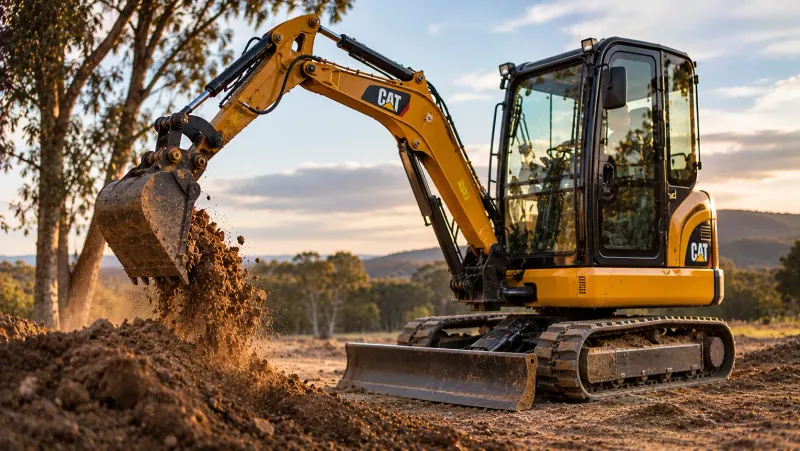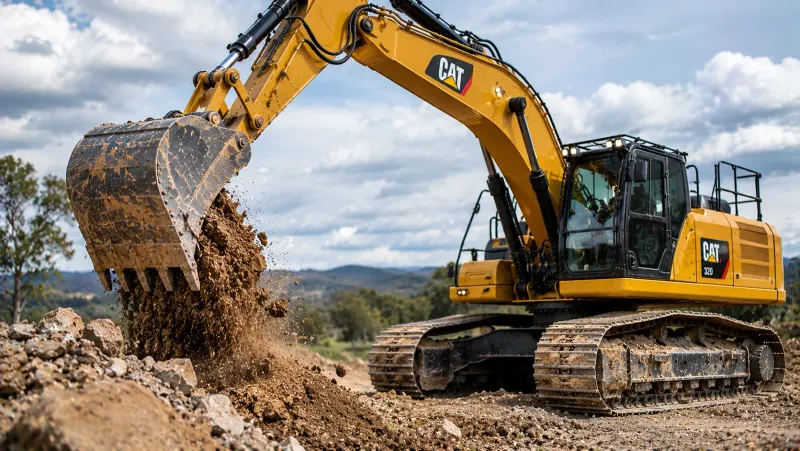
When someone is scrolling through excavator listings, the photo is the first thing they judge and sometimes the only thing. A clear set of pictures tells a buyer you look after your gear and have nothing to hide. A handful of dark, cropped or cluttered shots does the opposite, even if the machine itself is in good shape.
You do not need a professional camera. A modern phone and a bit of planning will do the job. Here is how to approach it.
Prepare the machine first
Wash it. Mud on the tracks and caked dirt in the cab hide details and make buyers wonder what else has been neglected. Clean the glass, wipe down the seat and controls and clear rubbish out of the cab. If you can, grease the pins and top up fluids so the machine looks and runs its best.
Do not paint over problems or tidy away evidence of repairs. Photos are there to show the machine honestly, and buyers will inspect it anyway.
Choose your light and time of day
Soft, low-angle light early in the morning or late in the afternoon flatters a machine and brings out its shape. Harsh midday sun creates deep shadows and glare on paintwork. An overcast day is perfectly fine and avoids harsh contrast.
Face the sun at your back or off to one side, rather than shooting into it. If the sun sits behind the machine, it will look dark and the details will disappear.
Pick a clean background
Park the excavator on level ground with a simple, uncluttered backdrop: an open paddock, a tidy yard or a plain wall. Avoid parking in front of other machinery, rubbish piles or power lines. A background that is easy on the eye keeps attention on the machine.
The shot list
Aim for a minimum set of photos that covers every angle a buyer wants to see.
- Front three-quarter view. Stand back at about the height of the cab, and shoot the machine at an angle so its shape and size show up.
- Rear three-quarter view. The opposite corner, showing the counterweight and engine bay side.
- Both sides at full length. Flat side-on shots are useful for showing the boom, stick and bucket.
- Bucket and cutting edge. Close-up so buyers can judge wear on teeth and edge.
- Tracks, rollers and sprockets. One or two detailed shots so the undercarriage can be judged.
- Cab interior. Seat, controls and monitor.
- Hour meter. A sharp, readable shot of the display with the key on.
- Engine bay. Open the cover and photograph the bay if it is clean.
- Plates and numbers. The make, model and serial plate, if you are comfortable sharing it.
- Attachments. Each bucket, hitch, hammer or auger laid out and shot individually.
Show the working position
One or two photos with the arm extended or the bucket lowered to the ground can help show off the machine's reach and how it sits. Keep the pose natural and stable. Avoid unsafe set-ups just for a photo.
Technical tips for phone cameras
- Clean the lens with a soft cloth. Fingerprints cause soft, hazy images.
- Shoot in landscape orientation. Most listing sites display photos wider than they are tall.
- Hold the phone steady, or brace it against something.
- Tap to focus on the machine, not the background.
- Avoid heavy filters and digital zoom. Move your feet instead.
- Take more photos than you need and choose the best.
Common mistakes
Cropping too tightly. If the bucket or tracks are cut off, buyers cannot see the whole machine.
Shooting from too low. A very low angle can distort proportions.
Leaving people or vehicles in the frame. They distract and can raise privacy and safety questions.
Showing the machine in a mess. Cluttered sites say nothing good about maintenance.
Using photos from another machine. Always use pictures of the actual machine for sale. Buyers expect it, and it avoids disputes.
Photos and honesty
If the machine has scratches, dents or repairs, photograph them too. Honest photos build trust and save time because they filter out buyers who would walk away after an inspection. They also protect you if there is a later disagreement about condition.
Order matters
Put your best, clearest overall photo first, because it is what shows up in search results and previews. Follow with the walk-around, then the details, then attachments. A logical order helps buyers move through the ad as if they were walking around the machine.
Next steps
Once you have your photos, pair them with a clear description covering make, model, year, hours, condition and what is included. Then you can list your excavator free and start fielding enquiries. If you want help writing the description itself, our post on writing an ad that gets calls covers it.